Novus PDF Studio
Fill and sign a scanned paper form
Turn a photographed or scanned paper form into a finished document in Novus PDF Studio: capture the page well, import it as a PDF, align fields by hand over the printed lines, draw a signature, and export a flattened copy that reads like ink on the page.
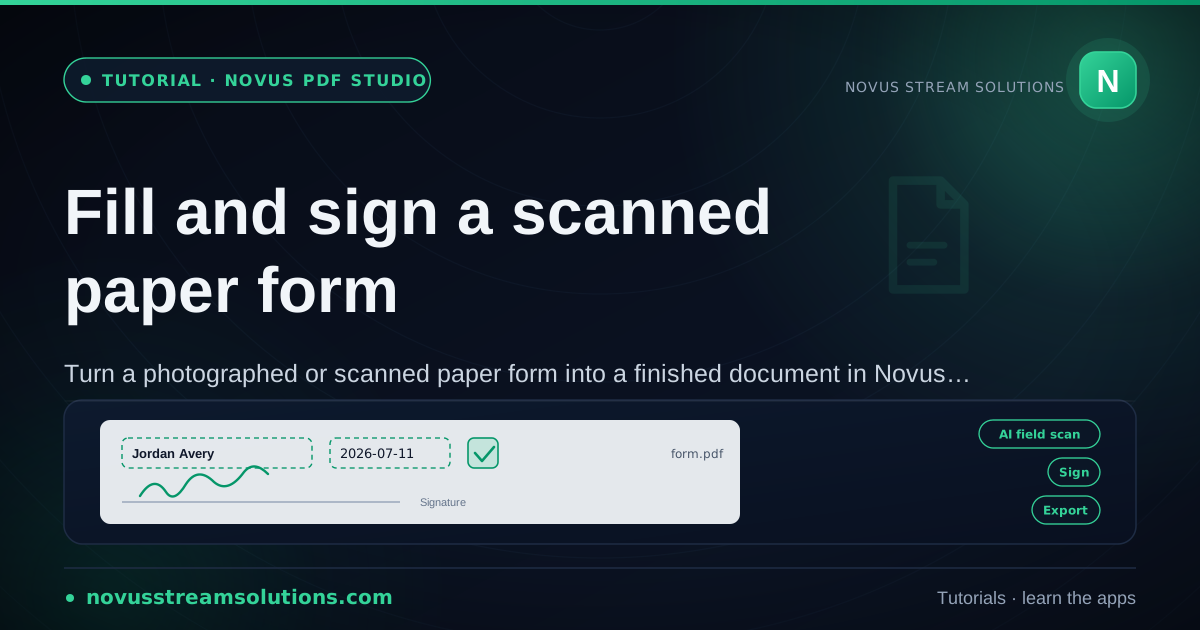
Plenty of forms never existed digitally at all. A landlord hands you a photocopied lease addendum, a school sends home a permission slip, a clinic faxes an intake sheet, and what you actually have is a piece of paper, or a phone photo of one. You can still finish it cleanly in Novus PDF Studio: import the scan as a PDF, lay your own fields over the printed page, type the answers, sign, and export a copy that looks like the form was filled at a desk with a very steady pen.
The honest caveat comes first. A scanned page is a picture of text, not text, and the AI field scan reasons about digital form structure; it does not run OCR on raster images. That makes this a manual-first workflow: the scan may contribute little or nothing on a photographed page, and the field placement is yours to do with the manual tools. The trade-off is control. Every box lands exactly where you put it, and on a crooked photocopy that precision is exactly what you need. This tutorial covers the whole arc, from capturing the paper to verifying the flattened export.
Contents
- 1.1. Capture the paper before you blame the editor
- 2.2. Turn the capture into a PDF and open it in the editor
- 3.3. Give the AI scan one honest try, then judge it
- 4.4. Align fields to the printed lines, not to the page
- 5.5. Style the entries so they read as ink on that page
- 6.6. Sign over the scanned signature line
- 7.7. Export the flattened copy and test it like paper
Two ways to finish
Clean flatbed scan
A straight, high-contrast scan with a handful of blanks: place fields quickly and sign.
Phone photo rescue
A slightly skewed snapshot of a paper form: align each field locally to its own printed line.
- 1
1. Capture the paper before you blame the editor
The quality of this whole workflow is decided before the editor opens, at the moment you photograph the page. Lay the form flat on a dark, contrasting surface and shoot from directly above, not at an angle, because perspective skew is the hardest defect to work around later, because it makes printed lines converge and no field grid can follow them. Use even, indirect light so no shadow band or flash hotspot crosses the writing areas.
Most phones do better than a bare camera photo: the built-in document modes (Notes on iPhone, Google Drive scan on Android) find the page edges, straighten the perspective, and boost contrast automatically. If a flatbed scanner is available anywhere in the paper's journey, use it; a true scan removes every geometry problem at once.
Retake rather than settle: if you can comfortably read every label and every blank line in the capture, the editor work will be easy.
- Shoot flat, from directly above, in even light.
- Use your phone's document scan mode; it deskews and sharpens for free.
- A capture you can read comfortably is a capture you can fill.
- 2
2. Turn the capture into a PDF and open it in the editor
PDF Studio edits PDFs, so the photo needs to become one first. Phone document modes export straight to PDF, which is the tidiest route; for a loose JPG or PNG, print-to-PDF from any image viewer does the job: open the image, choose Print, and pick the save-as-PDF destination. Keep a standard paper size so the proportions stay sensible in print.
For a multi-page paper form, capture every page into a single PDF in the right order now. Phone scan modes handle multi-page capture naturally, and if you end up with separate PDFs, the Merge tool combines them before you open the editor.
Upload the result at pdf.novusstreamsolutions.com/editor. The scanned page appears in the workspace like any digital form, and every manual tool works on top of it; the editor does not care that the page underneath is a photograph. Keep the capture file itself untouched as your fallback copy.
- Scan-to-PDF on the phone is the cleanest path; print-to-PDF converts loose images.
- Combine multi-page forms into one PDF before uploading.
- The manual field tools work identically over a photographed page.
- 3
3. Give the AI scan one honest try, then judge it
Run the AI field scan once, with expectations set. On a raster page it has no text layer to reason about, so it usually finds little, and occasionally proposes boxes unrelated to the printed blanks. Neither outcome costs anything: suggestions arrive as editable layers, and a useless batch disappears with the clear-AI-fields action, leaving the document and your manual fields untouched.
Once in a while the source surprises you: if the form was originally produced digitally and your "scan" carries real text underneath, the scan behaves normally and hands you a working first draft. It costs one click to find out.
Decide quickly: keep any suggestion that landed on a real blank, clear the rest, and build the remaining fields yourself, which is the manual path the rest of this tutorial assumes.
- On a true raster scan, expect the AI scan to contribute little.
- Clearing AI fields never touches the document or your manual work.
- A digitally-produced "scan" may surprise you; one click tells you.
- 4
4. Align fields to the printed lines, not to the page
The habit that makes scanned-form work succeed: align every field to its own printed line, judged locally, rather than to the page edges or other fields. Even a good capture carries a degree of rotation, so blanks on the left side of the page sit at a slightly different height than their partners on the right, and a perfectly level row of fields on a tilted scan looks more wrong than fields that follow the paper's gentle slant.
Zoom in on one region at a time and place its fields against what you see there: a text field riding just above each writing line, sized to the space the paper offers. Work top to bottom so no blank gets orphaned, and lean on the exact position controls: a two-unit nudge is more repeatable than a mouse drag when you are matching a photographed rule.
Match every blank to its field type as you go: text, number, check or cross, date-style, signature. Duplication still helps on repeated rows, but on a skewed scan give each duplicate its own small vertical correction as you move down the page, following the tilt instead of fighting it.
- Follow the paper's own slant: align each field to its local printed line.
- Zoom into one region at a time and finish it before moving on.
- Duplicated fields need per-copy nudges on a tilted scan.
- 5
5. Style the entries so they read as ink on that page
Typed answers on a photographed form look best when they clearly belong to the page. Size your text relative to the photographed print around it, because a scan's apparent text size varies with how the photo was framed, so match what you see rather than defaulting to a fixed point size. Entries slightly larger than the printed labels read naturally, the way handwriting usually sits on a form.
Color matters more than on a crisp digital form, because scanned backgrounds are rarely pure white. Near-black keeps maximum contrast against the grey cast of a photocopy, and deep blue makes your answers instantly distinguishable from the printed black text, the pen-on-paper convention.
Stay with the PDF-safe fonts (Helvetica, Times Roman, Courier) and pick one for the whole form. Helvetica's clean shapes hold up best against the blur and noise of a photographed background, where a delicate serif can shimmer. Style your first field at full zoom, then let every field that follows inherit it.
- Match entry size to the photographed print, not a fixed point size.
- Near-black or deep blue keeps contrast against grey scan backgrounds.
- One font for the whole form; Helvetica survives scan noise best.
- 6
6. Sign over the scanned signature line
The signature works exactly as on a digital form: add a signature field over the printed line, draw your mark, and redraw until it reads cleanly. A drawn signature completes a photographed form perfectly, since a handwritten mark is the one element that never looked typed anyway.
Placement follows the same local-alignment rule as everything else. Sit the signature field against the photographed line at its actual angle and position, and mind the neighbors: scanned forms often crowd a date blank and a printed name right against the signature area, and your date field should land on its own line, not under your signature's tail.
If the form wants initials on several pages or a witness line beside yours, give each mark its own field, and check the signature region at full zoom, because it is the area the recipient reads first.
- Draw and redraw until the mark reads cleanly, then place it on the photographed line.
- Keep the date field clear of the signature's tail.
- Zoom in on the signature block for the final check; it is the most-read region.
- 7
7. Export the flattened copy and test it like paper
Export when the page reads right. The download is a finished, flattened copy: entries, marks, and signature pressed into the page rather than left as live fields. For a scanned form that is precisely what you want: one clean page that looks filled, with nothing for the recipient's reader to shift or reflow.
Scanned forms end their lives on paper more often than digital ones, so beyond opening the download in a normal reader, run a print preview and confirm the page scales without clipping your entries at the margins, because a phone capture's proportions are rarely a perfect A4 or Letter match. If an edge clips, move the affected fields inward and export again.
One scope note: flattening places your answers on top of the image and erases nothing beneath them; PDF Studio is not a redaction tool. If the paper carries something that must not be shared, cover it before you photograph the page.
- The export is flattened: entries and signature become part of the page.
- Run a print preview; phone-capture proportions can clip at paper margins.
- Covering text before capture is the only real redaction for a scanned form.
Fix it at capture, align it locally
Ninety percent of scanned-form frustration is bad capture geometry, so shoot flat, straight, and bright, or re-shoot until it is. In the editor, stop trying to build a level grid on a tilted page: align every field to its own printed line at full zoom, follow the scan's slant, and style entries dark enough to beat a grey background. Then print-preview the export, because a scanned form almost always meets paper again.
Frequently asked questions
Quick answers to common questions about this topic.
Can the AI field scan read a photographed paper form?
Not reliably. The scan reasons about digital form structure and does not perform OCR on raster images, so on a true photograph it usually finds little. Run it once anyway (if your "scan" secretly carries real text, it behaves normally) then clear the AI fields and place the rest by hand.
How do I get a phone photo into Novus PDF Studio?
The editor takes PDFs, so convert the photo first. Your phone's document mode (Notes on iPhone, Google Drive scan on Android) exports straight to PDF and deskews the page as a bonus; for a loose JPG or PNG, use print-to-PDF from any image viewer.
Why do my fields look crooked even though I lined them up?
The scan itself is slightly rotated, so a perfectly level row of fields disagrees with the tilted printed lines. Align each field to its own line locally, at full zoom, following the paper's slant: fields that track the print read as straight even when the page is not.
Can the recipient edit my answers on the exported form?
The export is a finished, flattened copy: your entries, marks, and signature are part of the page rather than live fields. Note that flattening covers but never removes what is underneath, so for genuinely sensitive paper, cover the text physically before you photograph it.
Related workflow
Any document to a signed, sendable PDF
A form that arrived as a scan, a DOCX or an image becomes a filled, signed PDF small enough to email, without a single upload to someone else’s server.
- Bring the source into PDFNovus Convert: Images, documents and ebooks all land as PDF here, so the editor downstream only ever sees one format.
- Fill the fields and signNovus PDF Studio: The AI field scan proposes the boxes; every one stays editable, because a form editor that cannot be corrected is worse than no editor.
- Compress before sendingNovus Convert: Adjustable quality with the measured output size shown before download, so there is no guessing whether it cleared the limit.
Related troubleshooting
Was this page helpful?
Your answer stays in this browser, it is not sent anywhere and no account or cookie is involved.