Novus PDF Studio
Prepare a form for multiple signatures and witnesses
Set up a Novus PDF Studio form that needs more than one signature, such as two parties plus a witness, by placing a labeled signature field and a date beside each signer, letting everyone draw their own visual mark, and routing a flattened copy to each in turn.
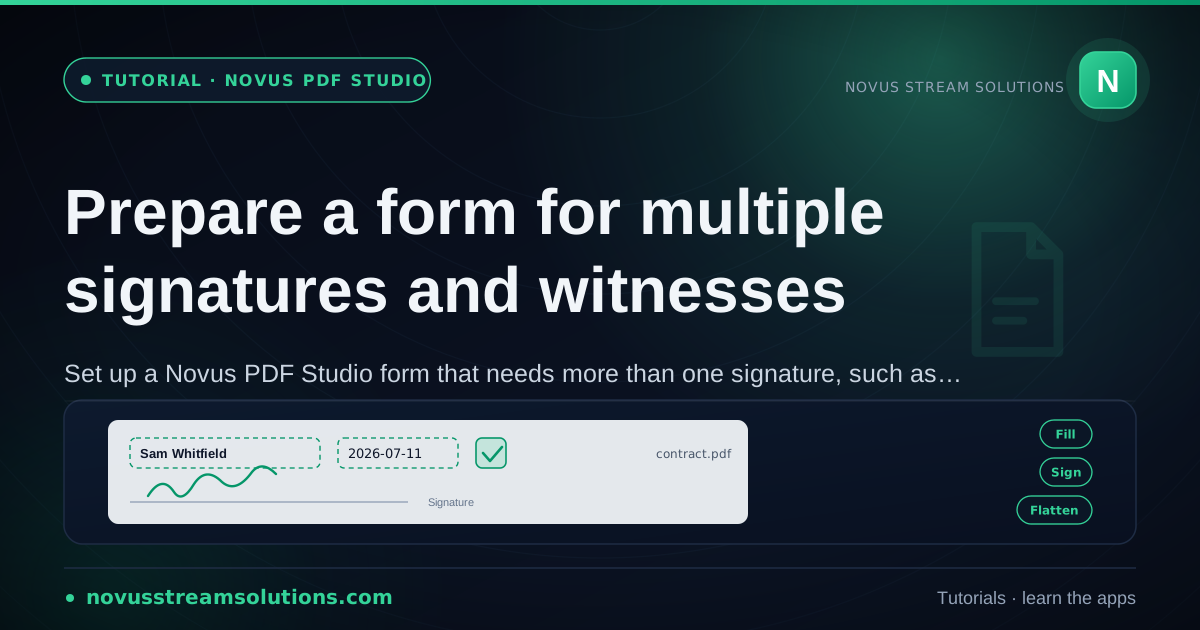
Some forms are not finished until several people have signed them: an agreement with two parties, a consent form that also needs a witness, a release that carries a signer and a countersigner. Novus PDF Studio, the free browser editor at pdf.novusstreamsolutions.com/editor, handles this well as long as you set the page up deliberately. This tutorial covers exactly that job: placing a distinct signature field for each person, labeling every position so nobody signs the wrong line, adding a date field beside each mark, letting each signer draw their own signature in the canvas, exporting a flattened copy, and routing that file to each signer in turn.
It is worth being honest about what these signatures are before you build anything. A drawn mark in PDF Studio is a practical, visual fill-and-sign signature (the everyday handwritten-style mark a form expects) and it is not a certificate-based, cryptographic, or legally verified electronic signature. The editor has no built-in send-for-signature routing, no identity check on each signer, no audit trail, and no tamper-evident certificate. You coordinate the hand-off yourself, and the value is a clean, correctly placed set of marks rather than a compliance guarantee. That makes it the right tool for internal agreements, community and club forms, and everyday multi-party paperwork; for a workflow that legally requires verified digital certificates, use a dedicated e-signature platform instead. If you have not signed a form here before, the single-signer walkthrough at Drawing a signature and exporting a finished PDF is the foundation this guide extends.
Contents
- 1.1. Map out who signs where before you build
- 2.2. Finish the shared form body and lock the layout
- 3.3. Place one distinct signature field per signer and label its position
- 4.4. Add a date field beside each signature
- 5.5. Let each signer draw their own mark
- 6.6. Export a flattened copy and route it to each signer in turn
Two ways to finish
Sign together in one session
Everyone is present or reachable at once, so you capture each person's mark in a single editing session and export one finished copy.
Route it in turn
Signers are apart, so each one draws their mark, exports a flattened copy, and forwards it to the next person in the chain.
- 1
1. Map out who signs where before you build
Multi-signature forms go wrong when placement is treated as an afterthought, so decide the whole layout before you add a single field. Count the marks the document actually needs and note who owns each one. Two parties plus a witness is three separate signatures, and each of those usually travels with a printed name and a date beside it, which means you are really planning three small blocks rather than three lone marks. Reading the form once with that in mind tells you how much room each block needs and whether the signing lines are crowded together or spread across pages.
Be clear-eyed about what you are building at the same time. Each signature will be a visual mark drawn onto the page, not a certificate-based or cryptographic e-signature, and there is no automated routing system that emails the form from one signer to the next or records who opened it. Because you coordinate the hand-off yourself, a clear plan of positions and labels is the thing that keeps a three-way signing from turning into a muddle where someone signs on the wrong line or a date goes missing.
Sketch the order of signing too, even loosely. If a witness only signs after the main parties, or a countersigner comes last, knowing that sequence up front makes the routing step at the end straightforward. The plan does not need to be formal: a note of the three blocks and who fills each is enough to work from.
- Count every mark the form needs and who owns each one.
- Plan a name and a date beside each signature, not just the mark.
- Remember these are visual marks, not verified digital signatures.
- 3
3. Place one distinct signature field per signer and label its position
In PDF Studio a signature is its own field type, in the same family as the text, number, date, and check or cross fields. For a multi-party form the rule is simple: add a separate signature field for every signer, and never try to reuse one field across parties. Build the first signature field over its printed line, size it to match, then duplicate it so each copy inherits the same height and proportions, and drag each duplicate onto its own line. Keeping every signature in its own field means each one exports at the right position and none of them drift when you adjust another.
Now label every position, because this is what makes routing survivable. Add a small text field above or beside each signature block that names who signs there (for example Party one, Party two, and Witness) using a PDF-safe font so it renders cleanly. On a single-signer form a label is optional; on a form that three people will sign, often without you standing over them, the label is the thing that stops someone from signing on the wrong line. If the form already prints those labels, you can lean on them, but adding your own leaves no room for doubt.
Give each block a little breathing room. Keep the signature fields clear of each other and of the printed name and date fields that sit around them, and match the height of each field to the printed line it belongs to rather than letting a tall box push a mark up into the line above. Because every field is a movable layer, none of this is permanent yet: you are reserving and labeling the space so that when the marks arrive, each one has a clean, clearly-owned place to land.
- Add a separate signature field for each signer.
- Duplicate the first field so every block shares the same size.
- Label each position with a small text field so no one signs the wrong line.
- 4
4. Add a date field beside each signature
Multi-party forms almost always want a date next to each mark, and the parties and the witness frequently sign on different days, so give every signature its own date-style field rather than a single shared date. Place one beside each signature block, keeping it close enough to read as a pair with the mark but clear of the signature field itself. As with the signatures, build one date field cleanly and duplicate it for the others so they match in size, font, and position feel across the page.
Give date fields a little more horizontal room than seems necessary. A fully written date is longer than people expect, and a box sized for a short numeric date will clip the moment someone types a longer format. A PDF-safe font keeps the exported text consistent, and Courier is worth considering here if you want the dates to line up as an even column down a page of several signers.
Think about who fills each date. If you are capturing every mark in one session, you can type the dates yourself as each person signs; if the form is being routed, leave each date field for its signer to complete when they add their mark, so the date genuinely reflects when that person signed rather than when you prepared the form.
- Give each signature its own date field, not one shared date.
- Size date fields with extra horizontal room so nothing clips.
- Duplicate one clean date field to keep every block consistent.
- 5
5. Let each signer draw their own mark
With the fields and labels in place, each person draws their mark in the canvas, inside the signature field labeled for them. On a trackpad or mouse, sign in one continuous motion where you can, because short, connected strokes read as a signature far more convincingly than carefully separated letters. On a touchscreen or tablet a finger or stylus usually produces a smoother line than a mouse ever will. Nobody needs to match their pen-on-paper signature stroke for stroke; a legible, consistent mark that clearly reads as theirs is what a filled form actually needs, and it can be redrawn as many times as it takes to get a clean version.
The reason each signature has its own field now pays off. A mark drawn into one field belongs only to that field and does not fill any other, so Party two drawing their signature never disturbs the mark Party one already placed, and the witness signs their own labeled line without touching either. If a mark comes out shaky or lands at an awkward size, replace it and draw again rather than patching a bad stroke, then nudge the field so the baseline of the signature sits just above the printed line rather than on top of it.
Keep the honest framing in view as people sign. Each drawn mark is a visual signature placed on the page, and the editor does not verify who is holding the mouse or confirm any signer's identity. That is perfectly appropriate for the everyday agreements and consent forms this workflow is built for, and it is exactly why you should not present the result as a legally verified digital signature when you hand it on.
- Each signer draws in one continuous motion in their labeled field.
- One person's mark never fills another field, so signatures stay separate.
- Redraw freely; a shaky mark is replaced, not patched.
- 6
6. Export a flattened copy and route it to each signer in turn
How you finish depends on whether the signers are together or apart, and both routes end in an export. Exporting produces a finished, flattened copy of the form: the marks, dates, and field values are baked into the visual page as they appeared on screen, while your original source file stays untouched. When everyone is present or reachable at once, capture every person's mark in a single editing session, complete the dates, and export one finished PDF by downloading it or sending it to print. That is the simplest path and the one to prefer whenever it is possible.
When the signers are apart, route the file in turn. Each person opens the form, draws their mark in the position labeled for them, fills their date, and exports a flattened copy, then forwards that copy to the next signer in the chain. Because each export bakes the earlier marks into the page, the next signer works on that flattened copy and simply adds their own signature field over their labeled line before signing, which is precisely why the clear labels from step three matter so much when you are not standing beside each person. The last signer's export is the finished document carrying every mark. There is no automated routing or tracking inside the editor, so you manage the hand-off yourself, whether that is by email, a shared drive, or in person.
Whichever route you take, open the final exported PDF in a plain reader before it goes any further, not just inside the editor, because that is what your recipient will see too. Confirm that every signature is present and correctly placed, that each date reads properly, and that nothing clipped or drifted during export. Give the file a clear name that identifies the form and the date, keep your untouched original in case you need to re-export, and only then send the completed copy on.
- Together: capture every mark in one session and export once.
- Apart: each signer draws, exports a flattened copy, and forwards it on.
- Open the final PDF in a plain reader and confirm every mark and date.
Label every line and verify the final copy
Two habits keep a multi-signer form clean. Label each signing position with its own small text field so nobody signs the wrong line, especially when the form is routed rather than signed in one room. And open the exported, flattened copy in a plain reader before it moves on, confirming that every party and the witness signed and dated where they should have. Keep your original untouched, route finished copies rather than the source, and remember these are practical visual marks, not certificate-based digital signatures, so present them for what they are.
Frequently asked questions
Quick answers to common questions about this topic.
How do I add more than one signature to a PDF form?
Add a separate signature field for each signer, label each position with a small text field, and place a date field beside every mark. Each person draws their own signature in their labeled field, and you export a finished, flattened copy once everyone has signed.
Can I add a witness signature line as well?
Yes. A witness is simply another signer, so add a distinct signature field and date for the witness alongside the party fields, label it clearly, and have the witness draw their mark in that field like anyone else.
Are these signatures legally binding electronic signatures?
No. Novus PDF Studio produces practical visual marks for filling and signing forms, not certificate-based or cryptographic e-signatures. There is no identity verification, audit trail, or tamper-evident certificate, so use a dedicated e-signature platform for workflows that legally require verified digital signatures.
How do I send the form to each signer in turn?
The editor has no built-in send-for-signature routing, so you coordinate the hand-off yourself. Each signer draws their mark, exports a flattened copy, and forwards it to the next person; because each export bakes the earlier marks into the page, the next signer adds and signs their own labeled field on that copy.
Related workflow
Any document to a signed, sendable PDF
A form that arrived as a scan, a DOCX or an image becomes a filled, signed PDF small enough to email, without a single upload to someone else’s server.
- Bring the source into PDFNovus Convert: Images, documents and ebooks all land as PDF here, so the editor downstream only ever sees one format.
- Fill the fields and signNovus PDF Studio: The AI field scan proposes the boxes; every one stays editable, because a form editor that cannot be corrected is worse than no editor.
- Compress before sendingNovus Convert: Adjustable quality with the measured output size shown before download, so there is no guessing whether it cleared the limit.
Related troubleshooting
Was this page helpful?
Your answer stays in this browser, it is not sent anywhere and no account or cookie is involved.